
HOW TO MAKE Perfect Pan-Seared Steak :: At its best, inspiration flows through us like a magical fuel; a priceless, clean energy. Never to be depleted so long as you know where to dig. For me, inspiration comes in many forms, but I can credit my food blogging inspiration to a single source. When I began my very first blog, 10 years ago (bless it), I hesitated pulling the trigger and hitting publish, and it was only when I happenstace-stumbled across Cannelle et Vanille Aran Goyoaga’s beloved and now iconic food blog that I knew I had to jump in myself. Yes, I thought. I want to do that, too. I think have to do that, actually.
⠀
And so, I did. And I never looked back. And what an adventure it has been. Thanks to you, Aran, for being that pilot light. ⠀
⠀
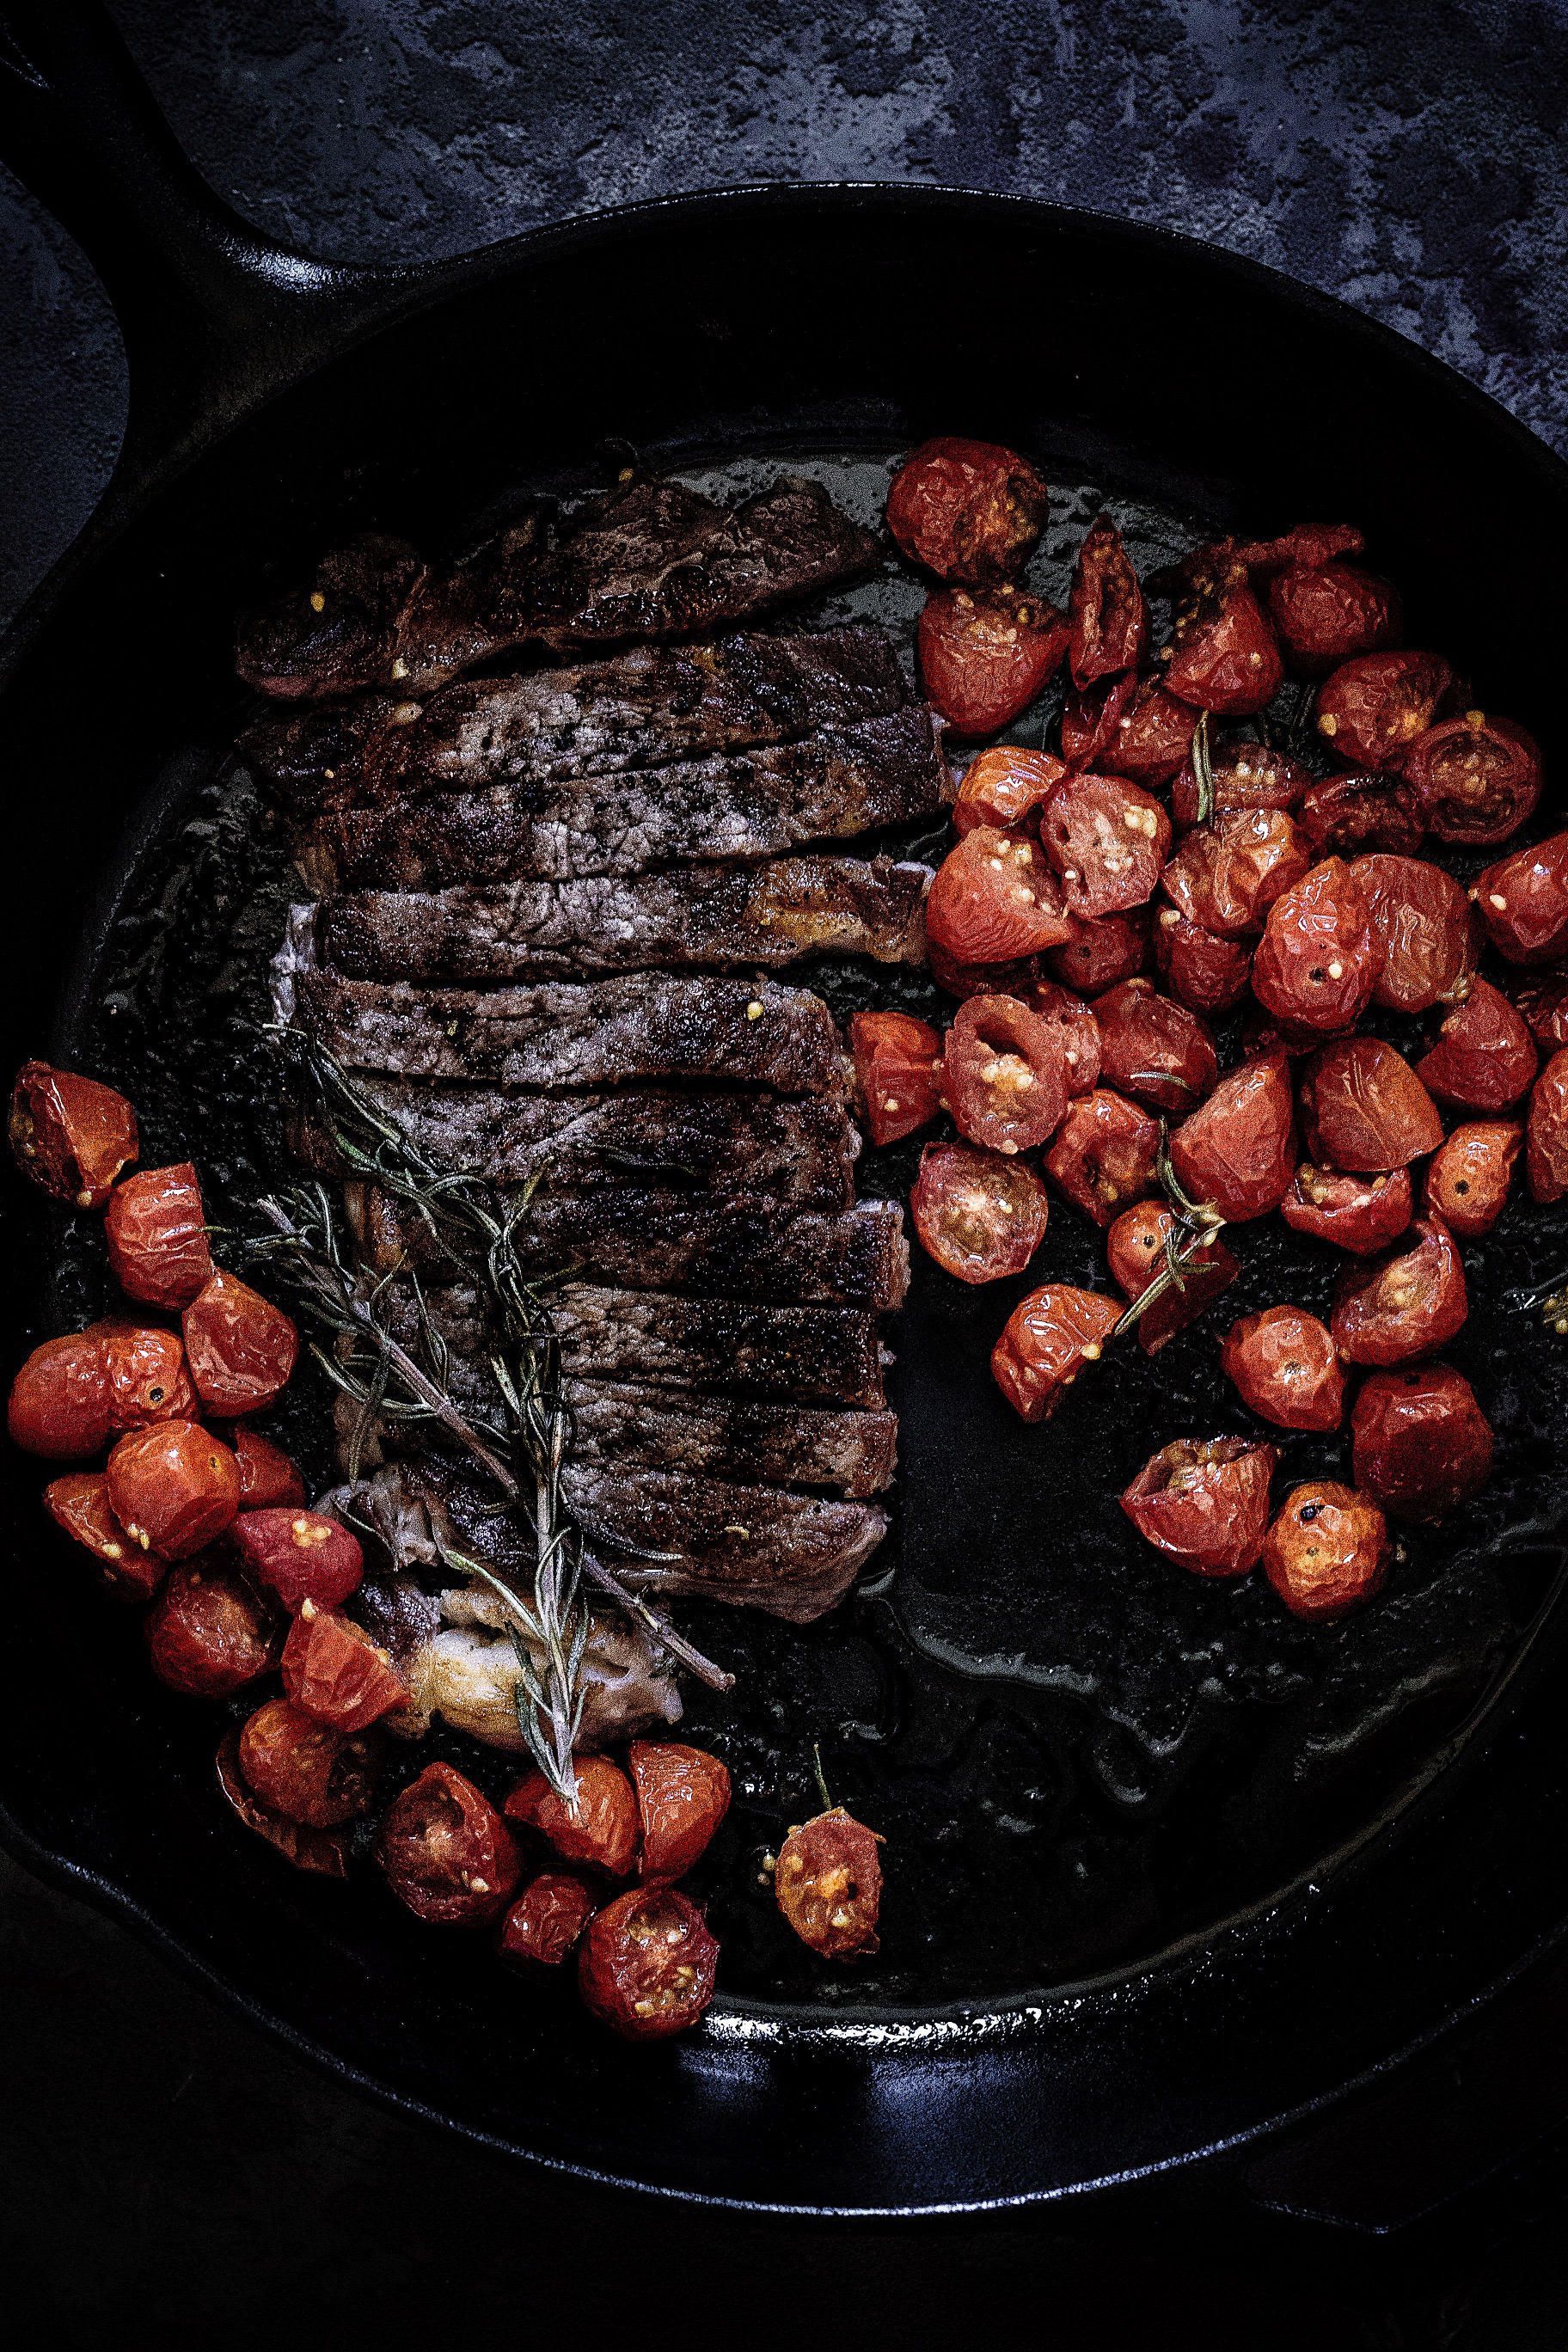
Today’s post is inspired by “The Perfect Steak” from her new cookbook, Cannelle et Vanille, which I had the privilege of testing for her a while back. True to its name, my family loves it and I’ve had it on regular rotation ever since. It’s delicious and the value really lies in the handful of effective, simple tips she offers that help ensure your steak is as good as it can possibly be:
Allow the steaks to rest at room temperature before cooking. Season liberally with just salt before cooking. Get a great crust on one aside before ever even thinking about touching or flipping it over. Drizzle it with a luscious, tantalizing garlic chili oil to bring out the flavor and succulence of the meat itself. Simple. Extraordinary. Completely perfect, indeed.
I know you guys are going to love this one. Congrats, Aran, on this beauty of a book!

How to Make the Perfect Pan-Seared Steak
- The cut of meat you choose, and its size/thickness, matters here. I always opt for a thick boneless ribeye (between 1″ and 1.5″ thickness), as the fattiness and ample marbling give you extra flavor and moisture insurance during cooking. They just hold up remarkably well and maintain that deep, meaty flavor you’re looking for. A good rule of thumb is to just go for the best steak you can afford. It will, undoubtedly, still be significantly more affordable than a steak prepared at a pricy steakhouse. (I get steaks shipped right to my door from Snake River Farms).
- Allow the steak to come to room temperature before searing (or at least close to it). That 30-minute resting time – between fridge and pan – really makes a difference, and is so worth doing.
- Don’t spice or season your steak before cooking, as those spices can char and burn in the super hot pan, messing with the flavors.
- HOT HOT HOT! We’ll allow our pan to get screaming hot before the meat goes in, as this gives the correct sear and prevents sticking. A sear is meant to essentially add another layer of flavor to the outside of our steaks, without actually adding another layer of flavorings (i.e. ingredients). This is why pan-searing is so fantastic – the cooking method alone is capable of creating incredible, addicting flavor and texture without any bells and whistles. A major Kitchen Little victory.
- In Aran’s recipe, she instructs you to slice your steaks and then drizzle them in the luscious chili garlic oil before serving – and I LOVE this method. For one, it makes it easy to see just how cooked your meat is. If you need it to cook a bit more, it will do so when you slide it back into the pan. Also, this gives every single bit and bite of steak the chance to soak up that incredible flavored oil, making for a truly luxe dining experience, right in your own kitchen.

Here is a ready-made pin for you! Simply share it to your “Easy Dinners” or “One-Pan Meals” board and you’ll be all set when the craving strikes.

A Perfect Steak with Chili Garlic Oil
This recipe is largely adapted from and inspired by Aran Goyoaga’s absolutely wonderful new book, Cannelle et Vanille. Her recipe needs nothing, I’m just weaving in a few of my own steak tricks as well, as I cook steak almost exclusively on the stovetop (I don’t know how to grill), and this recipe includes a few of my own Kitchen Little steps – things that I do every time to ensure that perfection. The outcome is an incredibly delicious, fool-proof steak, every single time.
- Yield: 4 servings
- Method: Pan-Searing
Ingredients
2 boneless ribeye steaks, about 1” thick (I love these)
3 tsp kosher salt, divided, plus more if needed
1/2 cup olive oil (not extra virgin)
½ tsp crushed red pepper flakes, or more to taste
2 garlic cloves, grated or minced
Lots of freshly cracked black pepper, to finish
Instructions
- Place the steaks on a plate, pat them very dry with a paper towel, and allow them to rest, out of the fridge, for 30 minutes before cooking begins.
- Meanwhile, prepare your garlic chili oil. In a small saucepan over medium heat, add the olive oil, red pepper flakes, 1 tsp of salt, and the garlic. Allow the oil to heat up, barely coming to a simmer. Once it does, turn off the heat. Let the oil infuse with the chiles and garlic.
- Once the steaks have rested for 30 minutes, place a large (12-inch), heavy skillet (I use my cast-iron pan) over high heat. Allow it to heat up for about 6 to 8 minutes. It will smoke when it’s actually hot enough. Liberally season the steaks with salt on each side. (I use about 1 tsp per steak, give or take).
- Once the pan is screaming hot, cook the steaks (no oil needed; they’re fatty enough) on the first side until a nice brown crust has formed and they no longer stick to the pan; about 3 minutes. Flip the steaks and cook on the other side for another 2 to 3 minutes, or until a meat thermometer reads somewhere between 125 degrees F and 130 degrees F (for medium rare).
- Transfer the steaks to a cutting board, let them rest for just 5 minutes, and then slice against the grain. Return the sliced steaks to the pan, now set over low heat. And spoon some of the warm chili garlic oil over top, allowing it to seep down and around each slice, flavoring every bite. This will warm the steak back up. Season with lots of freshly cracked black pepper (doing this now ensures the pepper doesn’t burn during cooking).
- Serve as soon as possible, with the remaining chili oil on the side.
Notes
A meat thermometer is recommended for this recipe.


