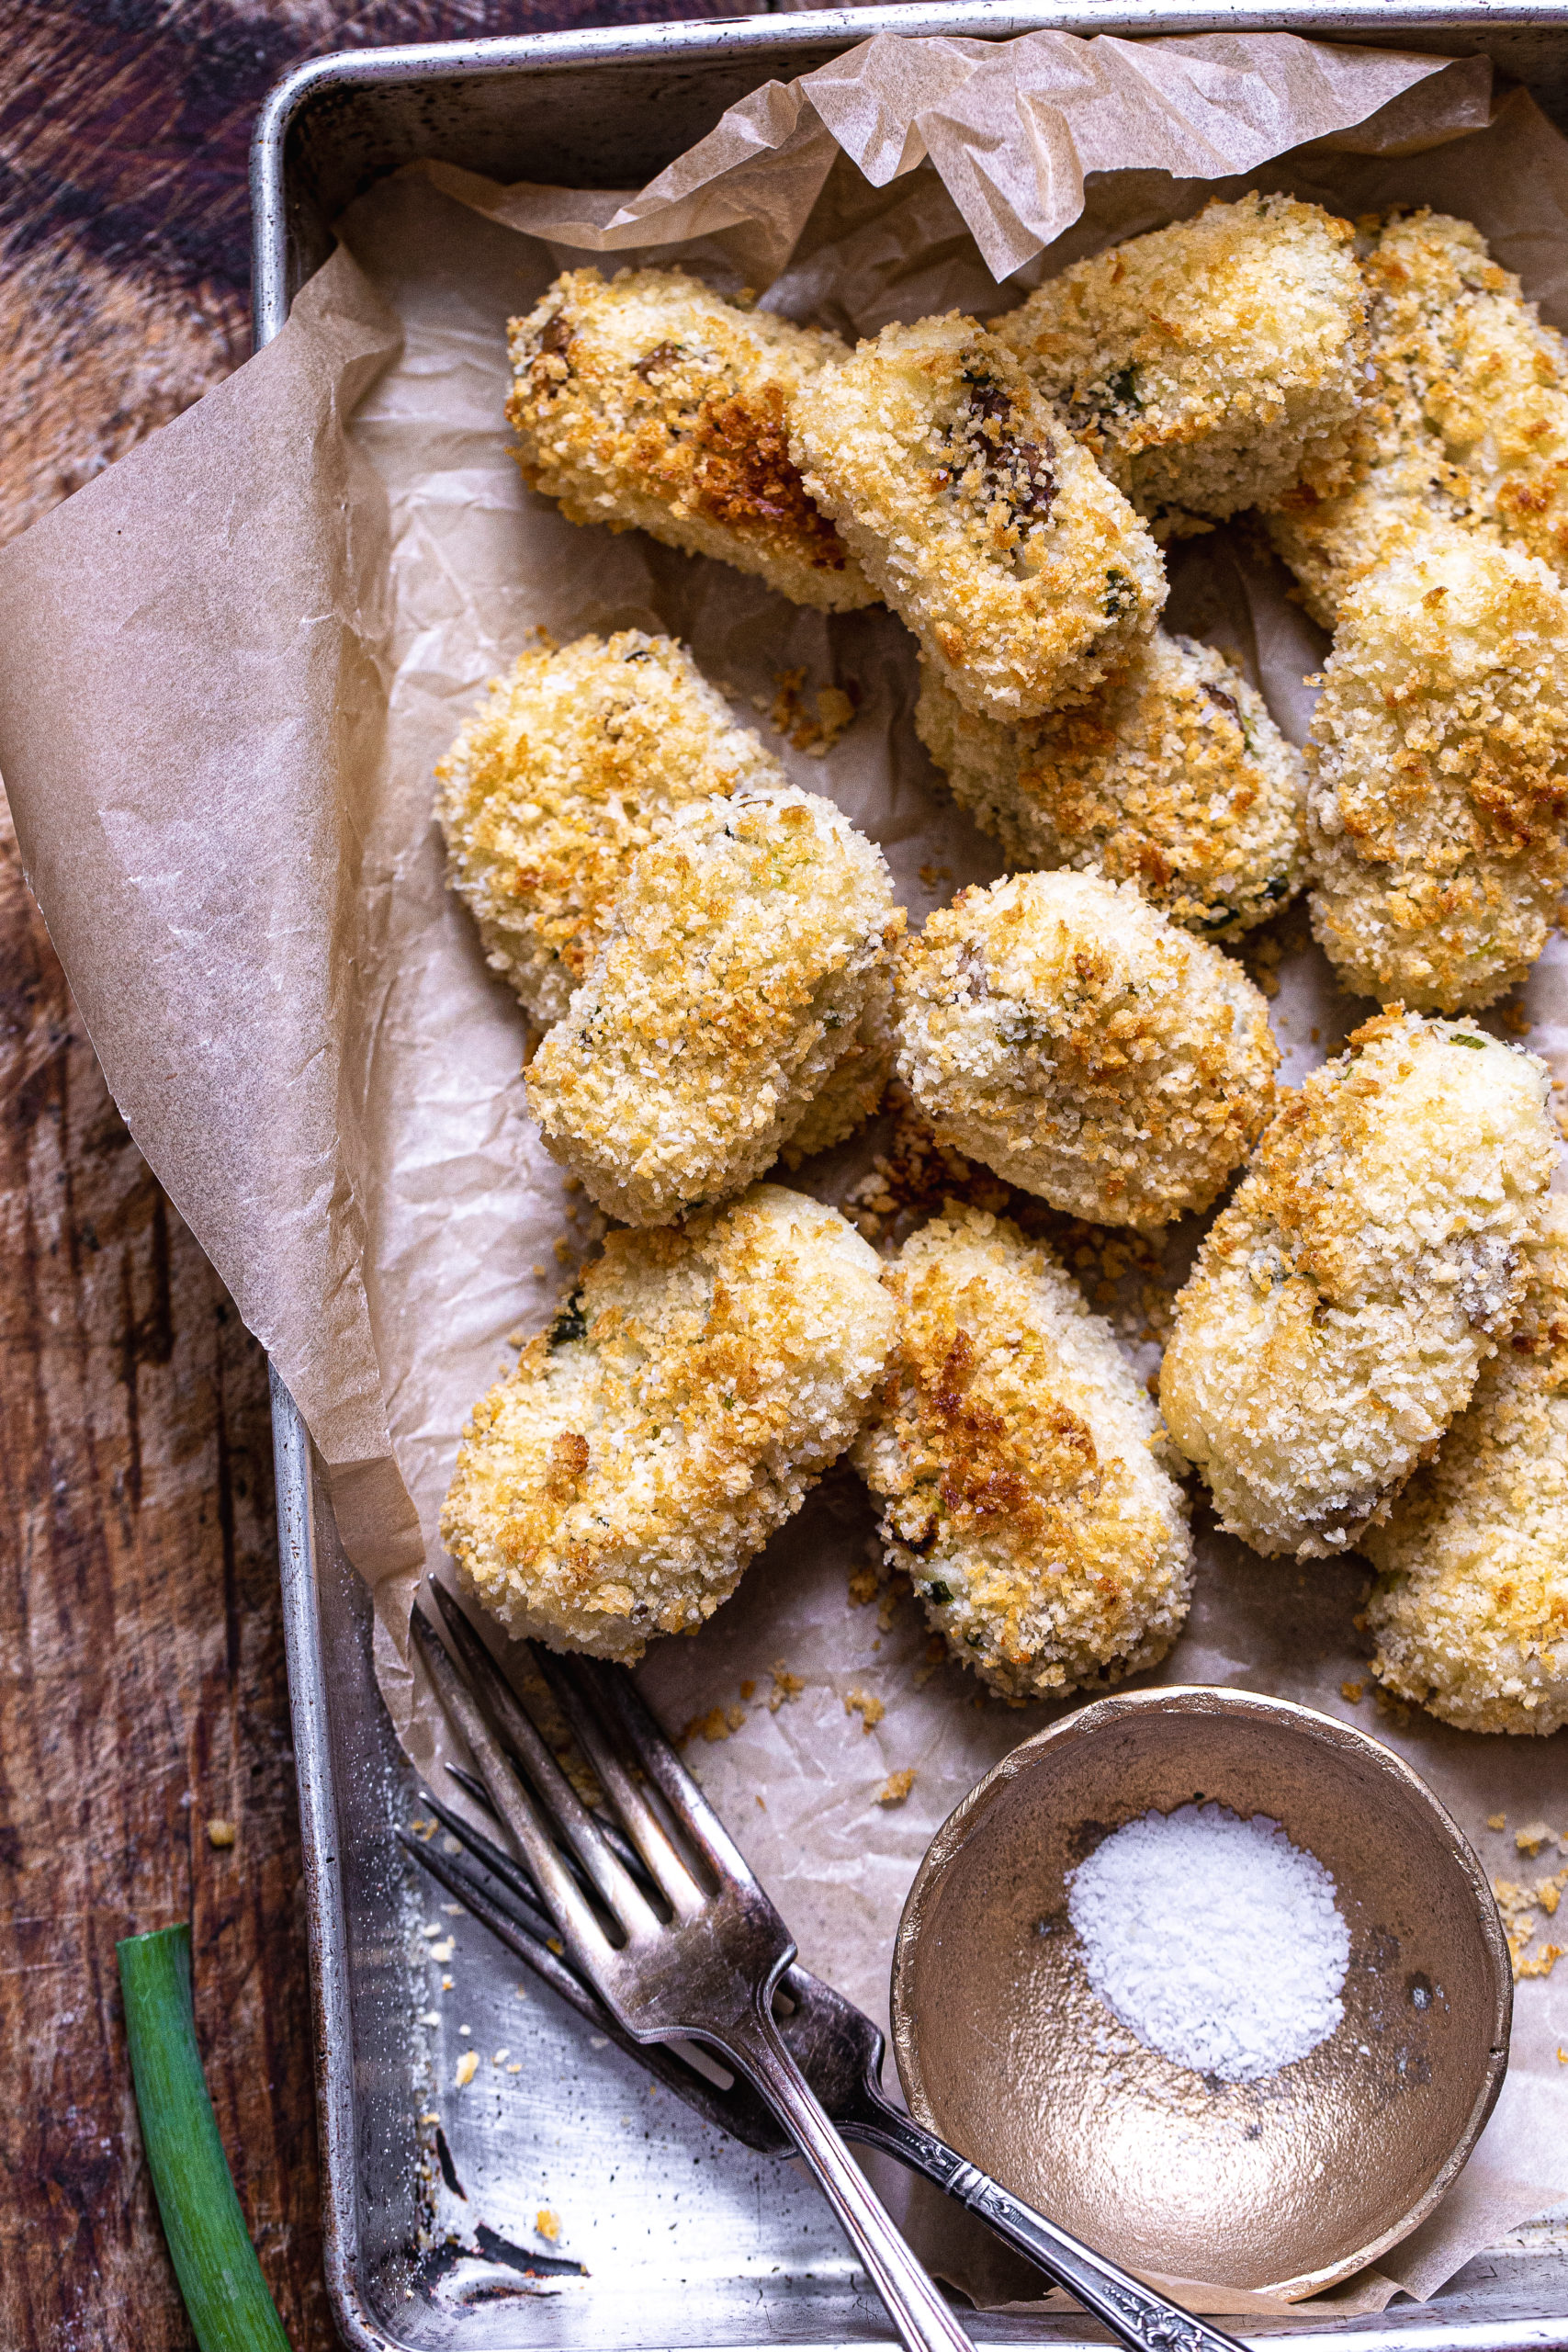
So easy to make and better than they oughta be, these Baked Tater Tots come with the added bonus of actually being healthy. Yes, it’s true! Rather than deep frying these babies in a vat of bubbling, greasy oil – we’re going to bake them until they’re nice and crunchy. Creamy on the inside and super cronchy on the outside, these jumbo tots are what dinnertime dreams are made of.


You say tater, I say tot … (or, Tater Tot FAQs)
Mmmk so. These little guys are really easy to make, which is one of the two very best things about them. The other thing is how they taste – which is SO SO GOOD. A well-seasoned potato is one of life’s great joys, in my opinion. But a season-less potato? Not worth the carbs it rode in on.
That’s my two cents anyhow. As such, we’re going to ensure that these taters are nice and flavorful before we ever even get to the totting of things (file almost all of this post under “things I never thought I’d type on my website.”). Here’s how we’ll do it:
- Greek yogurt. You could, I suppose, use sour cream, as that is very potato apropos. But in an attempt to stick to my claim that these are healthy, we’re going to reach for some much more nutritious, wholesome Greek yogurt. Regular yogurt would work just fine as well. But I really enjoy the thickness and overall wang of Greek. But whatever suits is totally cool.
- Raise your hands if you love a good sour cream and onion potato chip! I know I do, as does my whole family. So, as a nod to the beloved flavor, we’ll use a whole mess of finely chopped scallions or chives, along with some garlic powder, to really ramp up (allium joke!) the flavor in these taters. OMG I’m almost annoyed with myself at this point. Ahem.
- Speaking of alliums, we’ll use granulated garlic here (garlic powder) as it just works better in this recipe than fresh garlic. The flavor disperses beautifully, and you don’t run the risk of burning.
- Salt. Forever and ever. Amen. Just taste your mashed potato mixture before you go rolling and totting and coating them. What that mixture tastes like is what the finished tots will taste like, save for the salty panko coating. So, just be sure you love them.

How to get the crunchiest baked tater tots
To achieve what are truly the most delightfully crunchy tots, we’ll coat our creamy potato mixture in some Japanese panko breadcrumbs. If you’ve never worked with panko before, you’re in for a treat. Panko is a Japanese style of breadcrumb that is often used for chicken or pork katsu (tonkatsu) and helps to achieve maximum crunchiness. This is because standard breadcrumbs are baked a second time to give them even more texture and crunch. Here is how to make them.
Can you make these tater tots in an air fryer?
While these cannot be made in an actual fryer (they’d fall apart), you can definitely make these in an air fryer, if you’ve got one. Just follow your machine’s directions and cook them in batches as needed. You may not be able to get the golden brown color that an oven with help you achieve, but that’s not really a deal-breaker, I suppose.

What you’ll need to make these baked tater tots:
This is the simple, sort of baseline recipe I use to flavor my tots. I love the tang of the yogurt, and how it’s a bit healthier than sour cream. I also love how the garlic and onion notes really make the tots taste extra special. Panko breadcrumbs are the star here, as they stay hella crunchy even after all the baking.
INGREDIENTS
4 Russet potatoes, cut into 1-inch pieces (peeled or not)
Salt and pepper, as needed
½ cup plain Greek yogurt
1 teaspoon garlic powder
⅔ cup finely chopped scallions or chives
Olive oil, as needed
1 heaping cup Japanese panko breadcrumbs


Baked Tater Tots (or, Potato Puffs if you’re fancy): How to Make Them
These are VERY easy to make. Just be sure to allot enough time – as that’s really the biggest ingredient here. The potatoes will boil for about 20 minutes, and then it takes about 10 – 15 minutes to whip them into mashers and shape them into tots. Bake them for 30 to 45 minutes and you’re golden (and so are the tots).
DIRECTIONS
Preheat the oven to 425 degrees F.
Put the cut potatoes into a large pot filled with water to cover. Set the heat to high, bring to a boil, and salt the water like the sea. Let the potatoes boil until they’re fork tender and then drain the pot, returning the potatoes to it.
Add the yogurt, about 2 tablespoons of olive oil, the garlic powder, and a generous pinch of salt and freshly cracked pepper to the potatoes. Using a potato masher (or something similar) thoroughly mash everything until the mixture is very smooth and well-blended.
I usually cool mine in the fridge for about 10 minutes, to speed things up, but if your mixture is cool enough to shape/handle – go for it. Shape the potato mixture into about 1.5-inch balls and if you really want the classic “tots” shape, you can gently press them and square off the ends. They work great left round, too.
Pour the panko on a plate and moisten completely with olive oil (a few tablespoons or so). Season with a pinch of salt and pepper. Roll the tater tots around in the panko, pressing it gently in so it coats all sides. Place them on a baking sheet(s). Bake for at least 25 minutes, and up to 45 (depending on how browned you like them).
They will set up a bit as they cool, and become easily handheld and dippable into whatever sauce (Ketchup! Flavored mayo!) you like.

If you like the looks of these easy Baked Potato Puffs, then you might also want to check out:
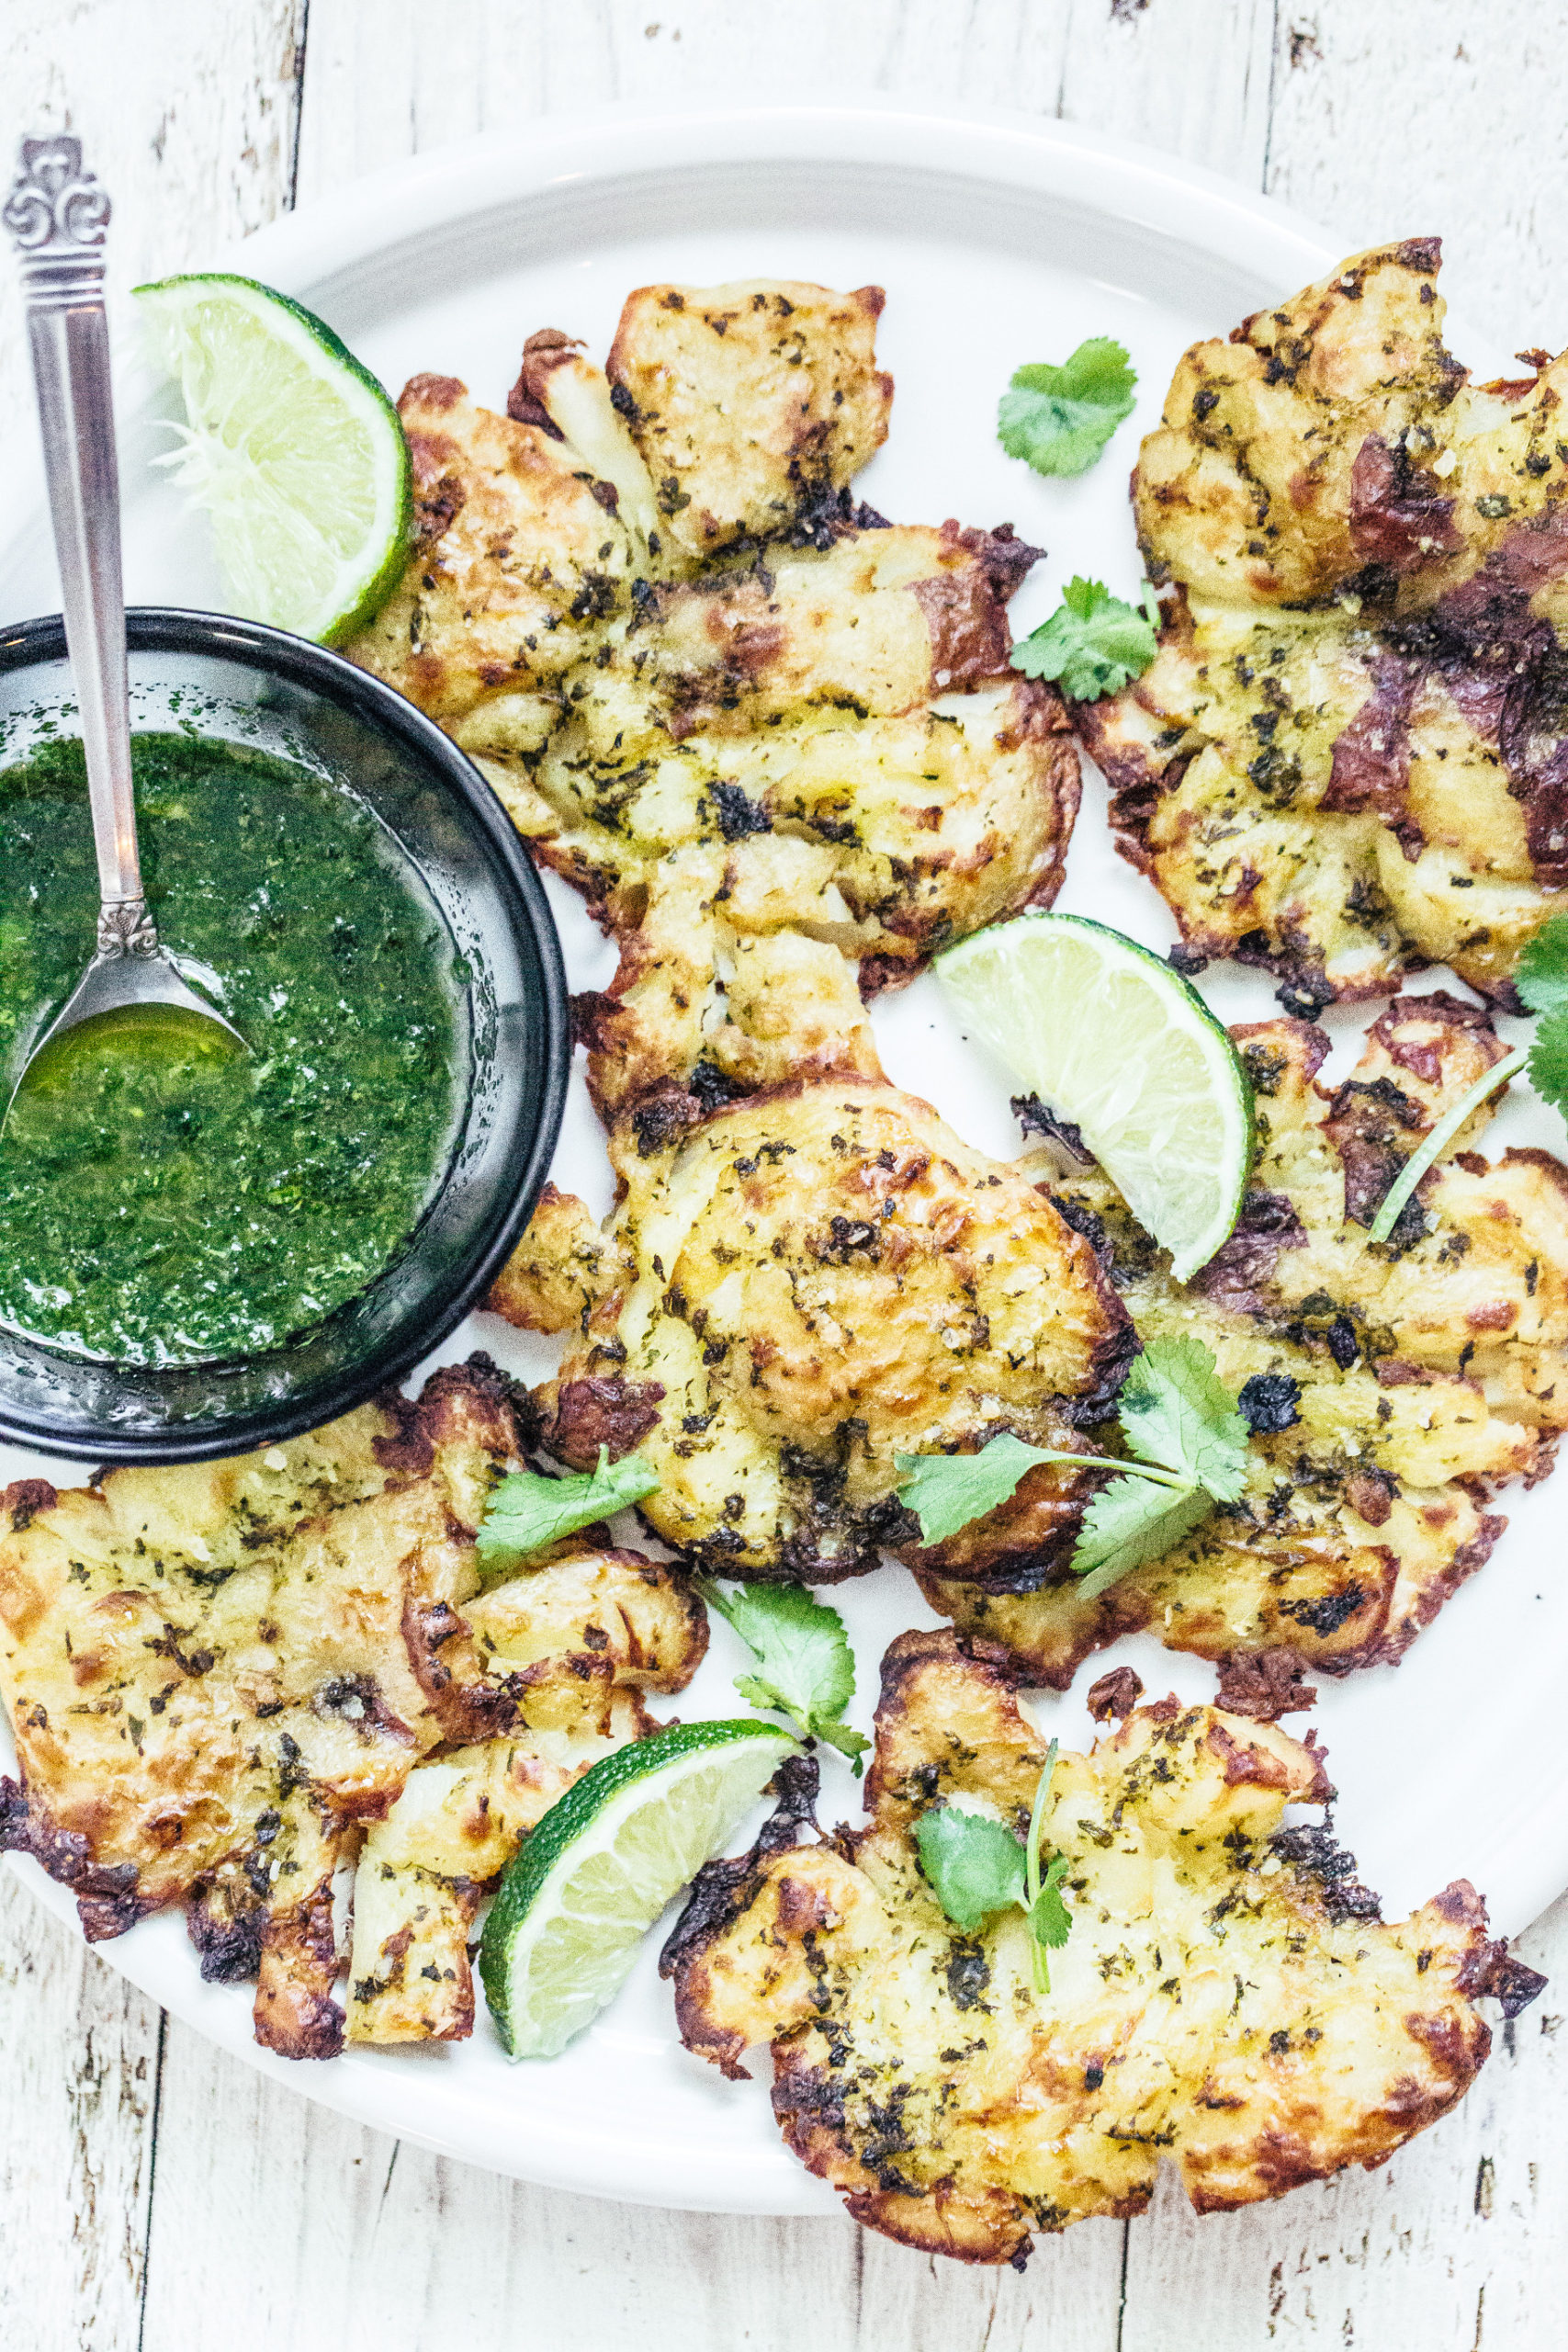
Easy Indian Chutney Smashed Potatoes
How to Make Baked French Fries
Perfect Crispy Roasted Potato Wedges

Healthy Baked Tater Tots (Sour Cream and Onion!)
A super easy, much lighter take on a classic tater tot. These bake up creamy in the centers and extra crunchy on the outside, thanks to some panko breadcrumbs. You can flavor them however you like as well. Smoked cheddar cheese and chipotle powder would delicious, and some fresh cilantro, pickled jalapenos, and cumin would give them a Mexican vibe.
- Yield: Serves 4 to 6 1x
Ingredients
- 4 Russet potatoes, cut into 1-inch pieces (peeled or not)
- Salt and pepper, as needed
- 1/2 cup plain Greek yogurt
- 1 teaspoon garlic powder
- 2/3 cup finely chopped scallions or chives
- Olive oil, as needed
- 1 heaping cup Panko breadcrumbs (plus more as needed)
Instructions
- Preheat the oven to 425 degrees F.
- Put the cut potatoes into a large pot filled with water to cover. Set the heat to high, bring to a boil, and salt the water like the sea. Let the potatoes boil until they’re fork tender and then drain the pot, returning the potatoes to it.
- Add the yogurt, about 2 tablespoons of olive oil, the garlic powder, and a generous pinch of salt and freshly cracked pepper to the potatoes. Using a potato masher (or something similar) thoroughly mash everything until the mixture is very smooth and well-blended.
- I usually cool mine in the fridge for about 10 minutes, to speed things up, but if your mixture is cool enough to shape/handle – go for it. Shape the potato mixture into about 1.5-inch balls and if you really want the classic “tots” shape, you can gently press them and square off the ends. They work great left round, too.
- Pour the panko on a plate and moisten completely with olive oil (a few tablespoons or so). Season with a pinch of salt and pepper. Roll the tater tots around in the panko, pressing it gently in so it coats all sides. Place them on a baking sheet(s). Bake for at least 25 minutes, and up to 45 (depending on how browned you like them).
- They will set up a bit as they cool, and become easily handheld and dippable into whatever sauce (Ketchup! Flavored mayo!) you like.
Notes
- Sour cream can be subbed for the yogurt.
- The bake time is given in a range, as the tots only need about 25 minutes in the oven to be fully crunchy and cooked. But to pick up more color, they’ll need to go a little longer. Totally up to you! The good news is that they’re very hard to overcook. You almost can’t.
- I can’t be bothered to care about a potato peel. I just can’t. I don’t love the task of peeling them, and they don’t effect the tots at all. So, peel them if you like, but just know that it’s totally fine if you don’t.
Keywords: Baked Tater Tots


